

You're sitting in the airplane with a kneeboard on your lap, the altimeter set, the airspeed needle humming along, and maybe a paper E6B folded open beside your chart. The number on the dial looks simple enough, but it's only one piece of the picture, and if you're trying to plan a leg, check a performance chart, or make sense of what the airplane is really doing, you need more than that single reading. True airspeed is the number that ties the whole thing together, and once you know how to calculate it, the cockpit stops feeling like a pile of separate gauges and starts feeling like one coherent system.
Table of Contents
- The Four Speeds You Read in the Cockpit
- From Indicated to Calibrated and Equivalent Airspeed
- Pressure Altitude, OAT, and the Density Ratio
- Running the TAS Formula Three Ways
- Worked Examples for Common Training Flights
- Common Pitfalls and Checkride Traps
- Preflight Checklist and Quick Answers for Students
The Four Speeds You Read in the Cockpit
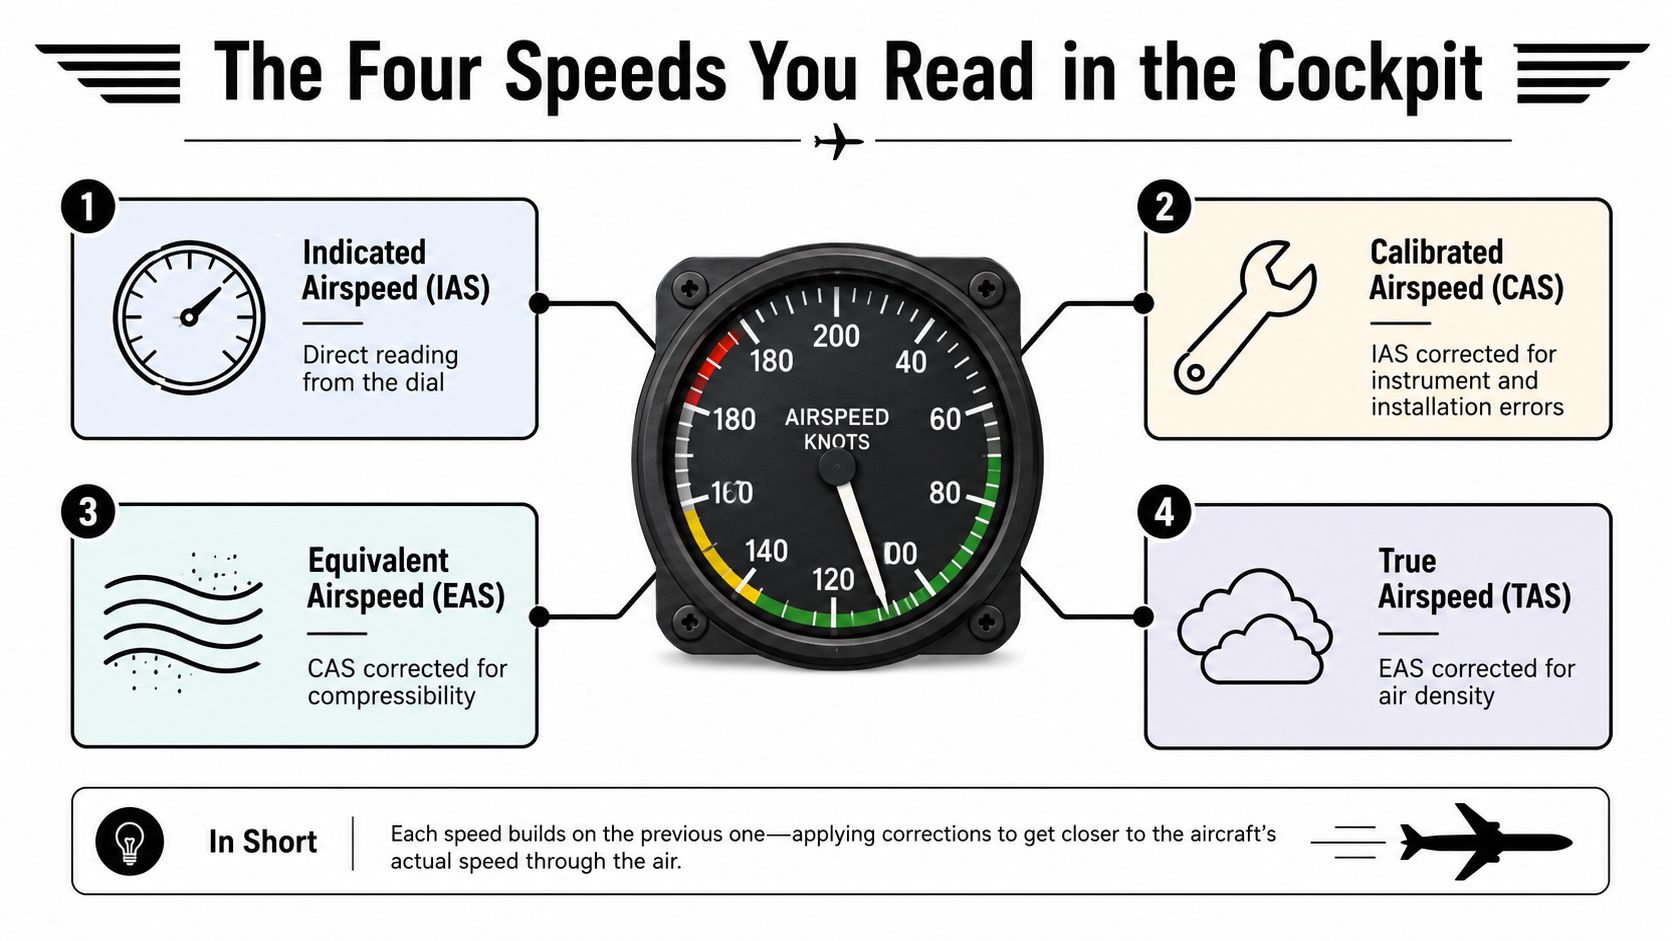
In the cockpit, the airspeed indicator gives you one needle and one number, but pilots use four airspeed terms to describe what that number really means. Indicated airspeed (IAS) is the raw reading on the dial. Calibrated airspeed (CAS) is IAS corrected for instrument and installation error. Equivalent airspeed (EAS) is CAS corrected for compressibility. True airspeed (TAS) is the final number after you account for air density, which is why it is the one you use for navigation and time enroute planning. A concise overview of those relationships appears in a standard airspeed reference, and it also explains that TAS is computed from IAS or CAS together with altitude and temperature. For a related look at the pitot-static system behind those readings, see DuBois Aviation's pitot-static system testing overview.
Why TAS matters more than the number on the dial
IAS is the speed that keeps the airplane honest for handling. That is why your stall speeds, flap speeds, and maneuvering speeds live there. TAS is different, because it tells you how fast you are moving through the air mass, and that is the number you use when you want to estimate groundspeed, fuel burn, or how long a leg will take.
The practical difference shows up fast. If you are seeing 120 knots IAS in a Piper Cherokee at 6,500 feet, the airplane is really moving faster through the air than the dial suggests, so your 100-nm leg will not take the same time it would at sea level. Even before you do the full calculation, the trap is clear. The airplane can feel familiar on the controls, but the nav math changes.
Practical rule: use IAS for flying the airplane, TAS for planning the flight.
Read the chart label before you trust the number
A POH or performance chart may use CAS, TAS, or even a corrected value that sits between them. That is why instructors tell students to read the axis labels first, not last. If you point at a speed in a chart and cannot say which airspeed it is, you are not really reading the chart yet.
That distinction matters on checkrides too. A student who says, “the airplane is doing 110 knots,” without naming the airspeed type leaves a gap in the explanation. The better answer is specific: “The indicator shows IAS, the POH chart uses CAS here, and I will convert to TAS for the nav leg.”
From Indicated to Calibrated and Equivalent Airspeed
Start with the needle in front of you, then work back to the corrected speed. In the cockpit, IAS is usually the first number you see, but it is not always the number you want for performance work. Small instrument and installation errors can nudge that reading, so the next step is usually to correct IAS to CAS with the calibration card in the POH. In a trainer, that correction is often small, but small still counts when you are trying to explain the math clearly on a checkride.
Cleaning up the airspeed reading
Pull the calibration table from the POH and find the entry that matches your indicated speed as closely as possible. If your exact value is not listed, interpolate between the nearest two entries. That means you estimate the correction between those speeds when your IAS falls between them. It is a simple habit, and it keeps you from treating the instrument like it is perfect when it is not.
The reason the correction stops at CAS is that the pitot-static system feeds the airspeed indicator, and its behavior is part of the answer. A useful refresher on that system is pitot-static system testing, because the gauge only works as well as the plumbing behind it.
After that, decide whether you need the CAS to EAS correction. Compressibility stays small enough to ignore in the lower-speed piston world, and the correction becomes more important as speed and altitude increase, especially when compressibility starts to matter. In normal training flying, CAS and EAS are often close enough that the difference is hard to notice, but the order still matters. Go from IAS to CAS, then CAS to EAS, then EAS to TAS.
If your airplane is flying low and slow, CAS and EAS may be close enough that the correction disappears into the noise. If you are high, fast, or both, do not assume that stays true.
What to do with the number
Once you have CAS, decide whether EAS is close enough to treat as the same value for your situation. In a normal training envelope, that is often the practical result. In a faster airplane or at higher altitude, keep the distinction on the page, because the next calculation expects corrected airspeed, not the raw dial reading.
A good kneeboard habit is to write it in order: IAS, correction, CAS, compressibility check, EAS. That simple sequence helps when the cockpit gets busy, and it keeps each step visible instead of hidden in your head.
Pressure Altitude, OAT, and the Density Ratio
True airspeed depends on how dense the air is, and density comes from two cockpit inputs: pressure altitude and outside air temperature, OAT. If you remember only one thing from this part, make it this. TAS does not need a long list of atmospheric variables when you're flying a normal training airplane. It needs the altitude you're really at in the standard atmosphere sense, and it needs the temperature you're sitting in.
Getting pressure altitude without overthinking it
The easiest method is to set 29.92 in the altimeter window and read the resulting altitude. That gives you pressure altitude directly. If you don't want to reset the altimeter, you can also use field elevation and your current altimeter setting as a practical shortcut, then work back to the same answer with the chart or your E6B. The point is to get the altitude referenced to standard pressure, not just the number the instrument happens to show on the local setting. A useful refresher on that distinction is here: pressure altitude explained.
Pulling temperature into the picture
Next, read OAT from the cockpit gauge. That's the actual outside air temperature, not the temperature you wish it were on a summer climb-out, and not the temperature reported for some nearby airport unless it's representative of your current air mass. You combine pressure altitude and OAT to find the density ratio, often written as σ, on an E6B or from a standard atmosphere table.
Here's the working logic in plain language:
- Higher pressure altitude means thinner air.
- Warmer OAT means thinner air at the same pressure altitude.
- Thinner air means a higher TAS for the same corrected airspeed.
A simple density-ratio table
| Pressure Altitude (ft) | ISA Temp (°C) | Density Ratio (σ) |
|---|---|---|
| 0 | 15 | 1.00 |
| 5,000 | 5 | 0.86 |
| 10,000 | -5 | 0.74 |
That table is just a training aid, not a substitute for the calculator or E6B. It helps your eye connect the idea that as altitude goes up, σ goes down. It also helps explain why density altitude becomes such a big deal on hot days, because the same cockpit inputs that drive TAS also tell you what the airplane “feels” like in the takeoff and climb.
The clean takeaway is simple. Once you've got pressure altitude and OAT, you have the atmospheric inputs you need for TAS. Everything else is just arithmetic.
Running the TAS Formula Three Ways
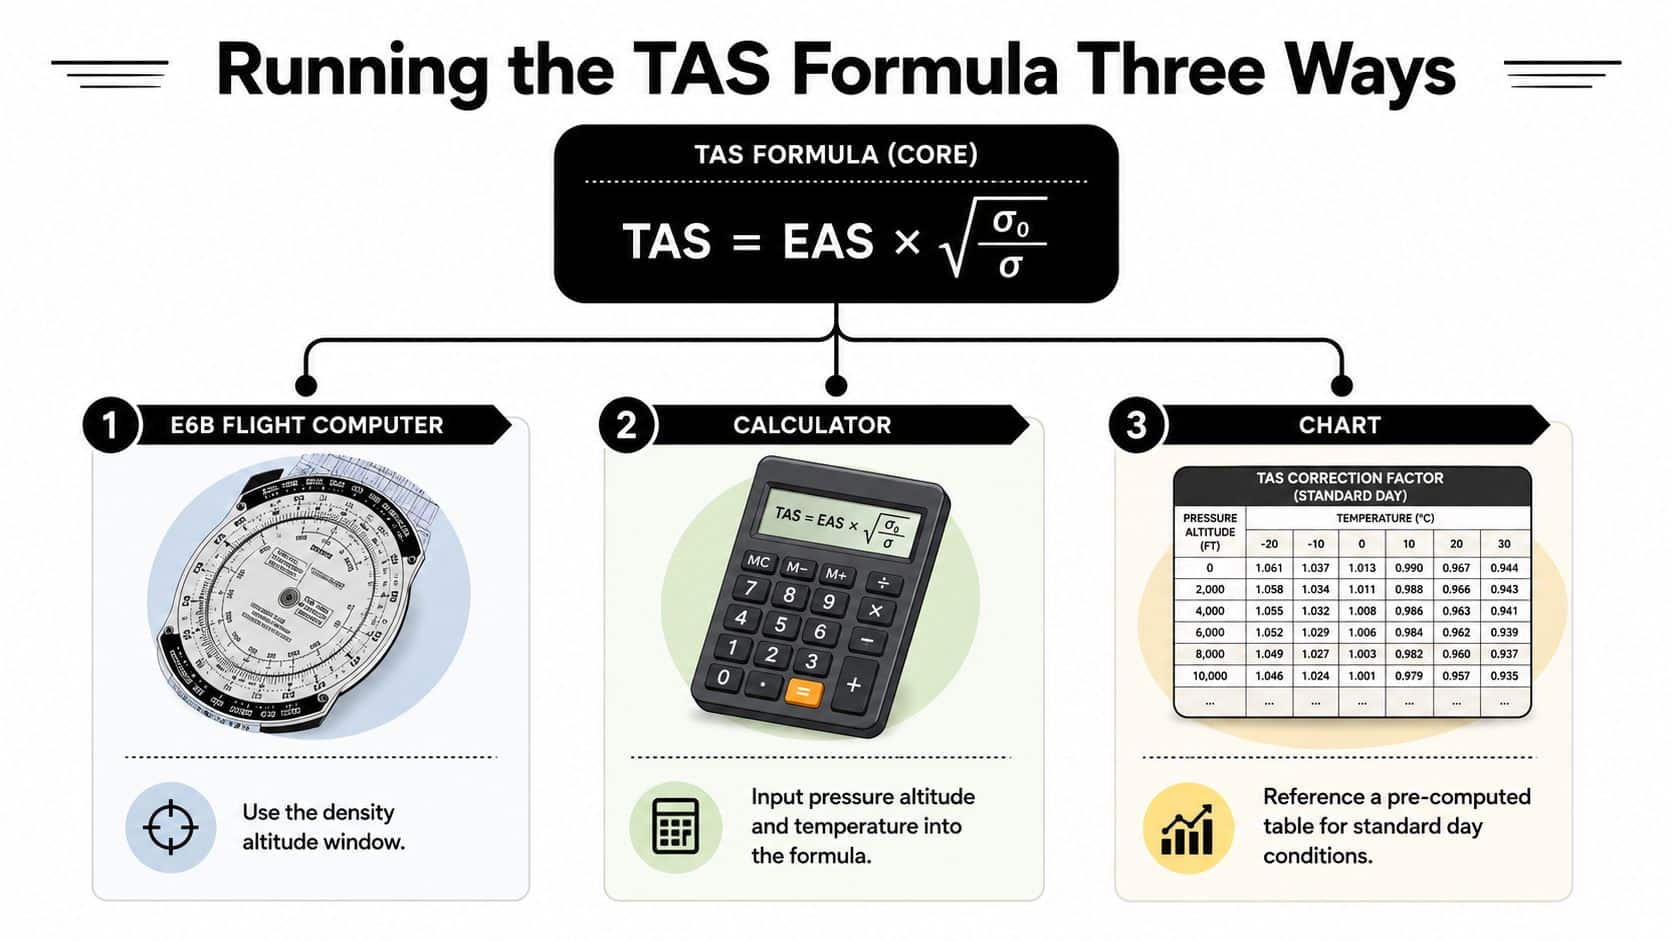
The core relationship is straightforward: TAS = EAS × √(1/σ), where σ is the density ratio. The reason people get stuck is not the formula itself. It's choosing the tool, feeding it the right inputs, and reading the answer without getting lost in the cockpit workload.
The E6B way
With a paper E6B, you can solve TAS by using the density altitude or temperature-and-altitude side of the computer, depending on the model you're holding. Set your corrected airspeed on the appropriate window, line up the altitude and temperature inputs, then read TAS from the output scale. The trick is to stay disciplined about sequence, because the E6B won't save you if you feed it the wrong speed type.
If your airplane's cruise speed is already close enough that CAS and EAS are effectively the same, you can usually work from that corrected value on a basic flight computer. If the calibration card shows a more meaningful correction, make that correction first and then use the corrected number as your input. That's the part students often rush.
The calculator method
On a calculator, the process is even clearer. First compute the square root of the inverse density ratio, then multiply by EAS. If you want to see what the E6B is doing behind the plastic, this is it. The mechanical computer is just packaging the same relationship in a form that's easy to use with one hand on the kneeboard.
That's why the calculator method is so useful in training. It exposes the logic. If the answer looks wrong, you can stop and check each piece instead of staring at a dial and hoping the number feels right.
The app or electronic E6B method
An iPad app or electronic E6B can be very fast, as long as you still know what you entered. You'll typically enter pressure altitude, OAT, and a speed value, then the device returns TAS directly. That's convenient, but it also makes it easier to skip the correction chain if you're not paying attention.
Instructor habit: use the app for speed, then verify the answer against the conditions you wrote on the kneeboard.
If the electronic answer and your hand calculation disagree, don't blame the tool first. Check the input type, check the units, and check whether you used the corrected or raw airspeed. Most student errors happen before the math ever starts.
Worked Examples for Common Training Flights
The fastest way to make this stick is to run the same mental template on real training flights. The numbers below are intentionally ordinary. That's the point. You're not trying to do airline dispatch math in a Cherokee. You're trying to build a repeatable process that works when the cockpit is busy and the instructor is asking for your next checkpoint.
A Cherokee at moderate altitude
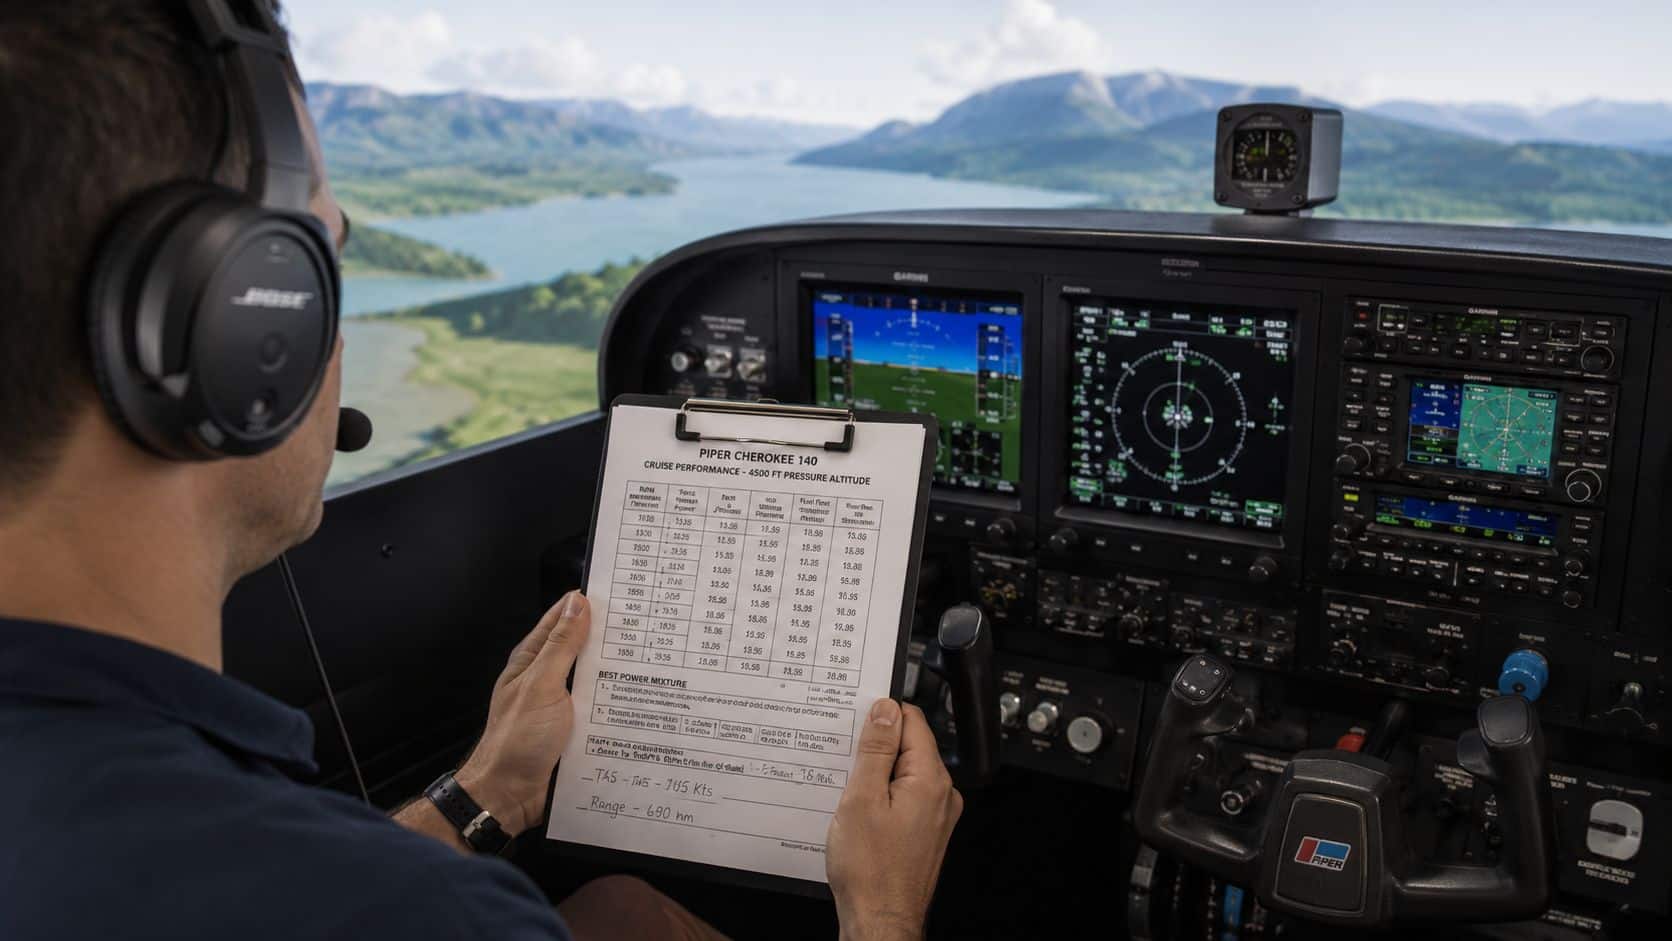
Take a Piper Cherokee at 4,500 feet pressure altitude on a standard day with 105 KIAS. If the airplane's calibration card says the IAS correction is negligible at that speed, then EAS is effectively the same number you read on the dial. Feed that corrected speed into the TAS formula and you'll get a TAS that's higher than the needle suggests, which is exactly what you expect in thinner air.
The value of the example isn't the exact number. It's the workflow. You identify the speed type, confirm the correction, read pressure altitude, read OAT, and then solve. Once you do that once, the next leg feels less mysterious.
A Mooney cruising higher and faster
A Mooney M20B at 8,000 feet on a cool morning shows why the correction process matters more as the airplane gets faster. Here, the difference between IAS and TAS is easier to notice, and the pilot has less margin for sloppy mental math. That's where the E6B or calculator earns its place, because you can check the airspeed without guessing whether the airplane is just “a little faster” or meaningfully faster.
If you compare the cruise leg using TAS instead of the dial reading, your estimated time enroute changes in a way that's easy to feel on the chart. That's not trivia. It affects when you call fuel, when you expect your next checkpoint, and how you brief the arrival.
A hot-day departure from Chino
A hot summer departure out of Chino is where the whole concept becomes real. The airplane can be operating from a field that feels normal on the ground, while the air mass itself acts much thinner than you'd expect. In that case, your performance story and your navigation story start to overlap, because the same density conditions that change takeoff feel also change the TAS you should use for planning.
For practical flight planning, that means you should never assume the cruise leg will match the number from a comfortable day aloft. Check the correction, plug in the temperature, and then update your estimated time enroute based on the actual TAS you've calculated. If you want to compare your result against the structure of published performance material, this is the right time to look at the aircraft's own charts: aircraft performance charts.
Common Pitfalls and Checkride Traps
The shortcut you hear most often in training is the 2% per 1,000 ft rule. It sticks because it is easy to remember, but it leaves out temperature, which means it can drift away from the actual answer when the air is much warmer or colder than standard. As noted earlier, the formula relationship is the better guide when you are trying to solve for true airspeed with a paper E6B or calculator, while the shortcut is only a rough mental check.
A good way to see the weakness is to ask what the airplane is flying through. Altitude changes the air density, and temperature changes it again, so a rule that only looks at height is doing half the job. That is why the 2% idea can feel close on a mild day and still miss enough to matter when you are planning a cross-country or checking an instrument answer.
Where students usually miss
The first miss is skipping the CAS to EAS step because the airplane is a trainer and the correction seems small. Small corrections still matter when you are building the chain step by step, because one skipped step gives you a clean-looking answer that started wrong. The second miss is reading the wrong side of the E6B window, which produces a believable number that does not match the actual inputs.
The third mistake is using indicated altitude instead of pressure altitude, especially after the altimeter has been set and reset more than once during the flight. If the altimeter setting is local and you do not convert properly, the rest of the calculation is built on the wrong starting point. That is a common checkride trap because the airplane still feels normal, even though the math is no longer tied to standard pressure.
Temperature causes its own set of errors. OAT is not whatever number happens to feel close to standard, and it is not borrowed from a nearby airport unless it reflects the air mass you are in. A student can do the airspeed steps correctly and still land on the wrong TAS if the temperature input came from the wrong source.
Trust, but verify
GPS groundspeed helps, but it does not replace the calculation. If you compare your computed TAS with a GPS log, use the comparison to check your work, not to stop thinking. Wind can make groundspeed look convincing even when the TAS math is off.
CFI advice: write the inputs down first, then solve. If you cannot point to the pressure altitude, temperature, and corrected airspeed on paper, you are guessing.
A good habit is plain and repeatable. Read the dial, correct the number, set the altimeter, read OAT, solve TAS, then sanity-check the result against the leg you are flying. That kind of boring consistency keeps students from inventing shortcuts in the cockpit, and it makes checkride questions easier to answer without hesitation.
Preflight Checklist and Quick Answers for Students
Before a cross-country, run the same order every time. Read IAS, correct to CAS, decide whether EAS is the same or needs attention, set pressure altitude, read OAT, find density ratio, compute TAS, then compare the result to the next waypoint and update your estimated time enroute. If the number looks off, check the inputs before you touch the math again.
Quick answers students ask all the time
How accurate does TAS need to be? Accurate enough to support your navigation and timing, not perfect to the decimal. If the planning number is close and the inputs are sound, you've done the job.
What if OAT looks suspect? Compare it with the cockpit environment and any available weather data, then treat the answer cautiously. A bad temperature input gives you a bad TAS.
What does a glass cockpit show? Usually a computed TAS from the air data computer, but you still need to know what it's based on. If you don't know the inputs, you don't really know the answer.
How close is GPS groundspeed to TAS? It can be close in calm air, but wind changes that quickly. GPS groundspeed is a useful cross-check, not a substitute for a real TAS calculation.
If you're training around Southern California and want to work this out with a CFI who'll sit with you at the kneeboard and make the math feel normal, DuBois Aviation is a solid place to get that kind of one-on-one practice. Bring your questions, bring your logbook, and make the next cross-country the one where true airspeed finally clicks.