
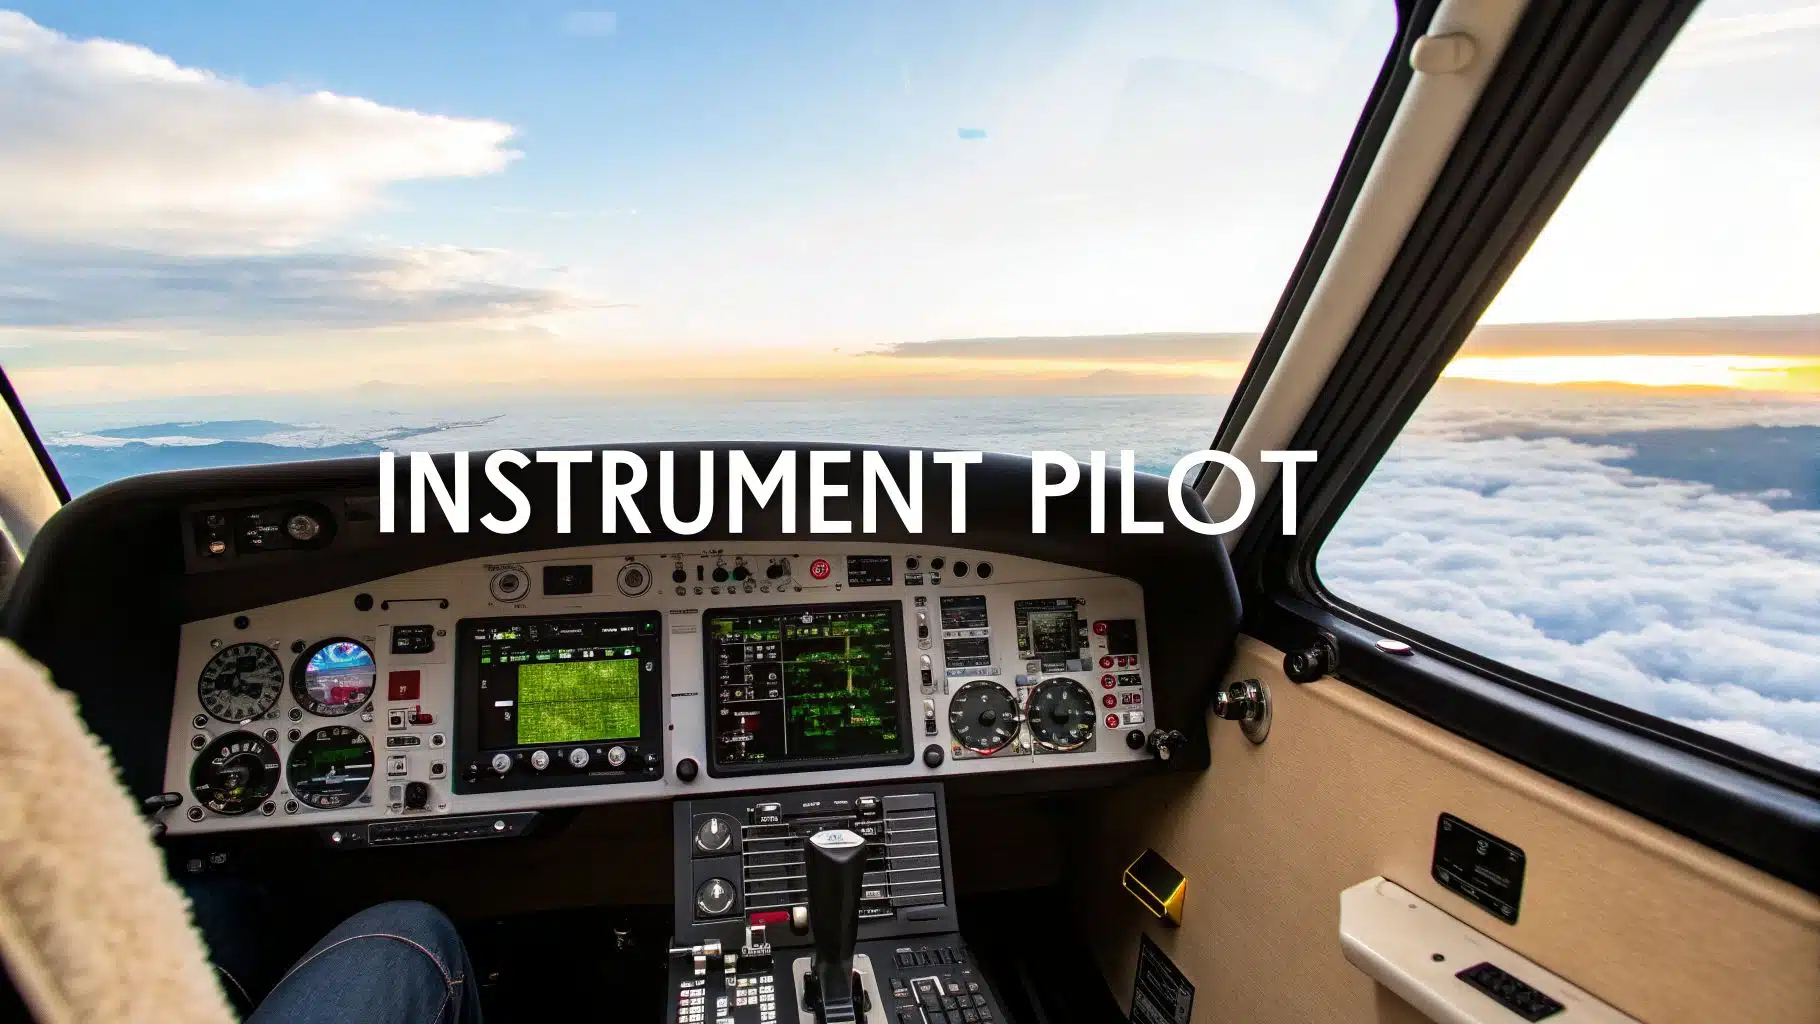
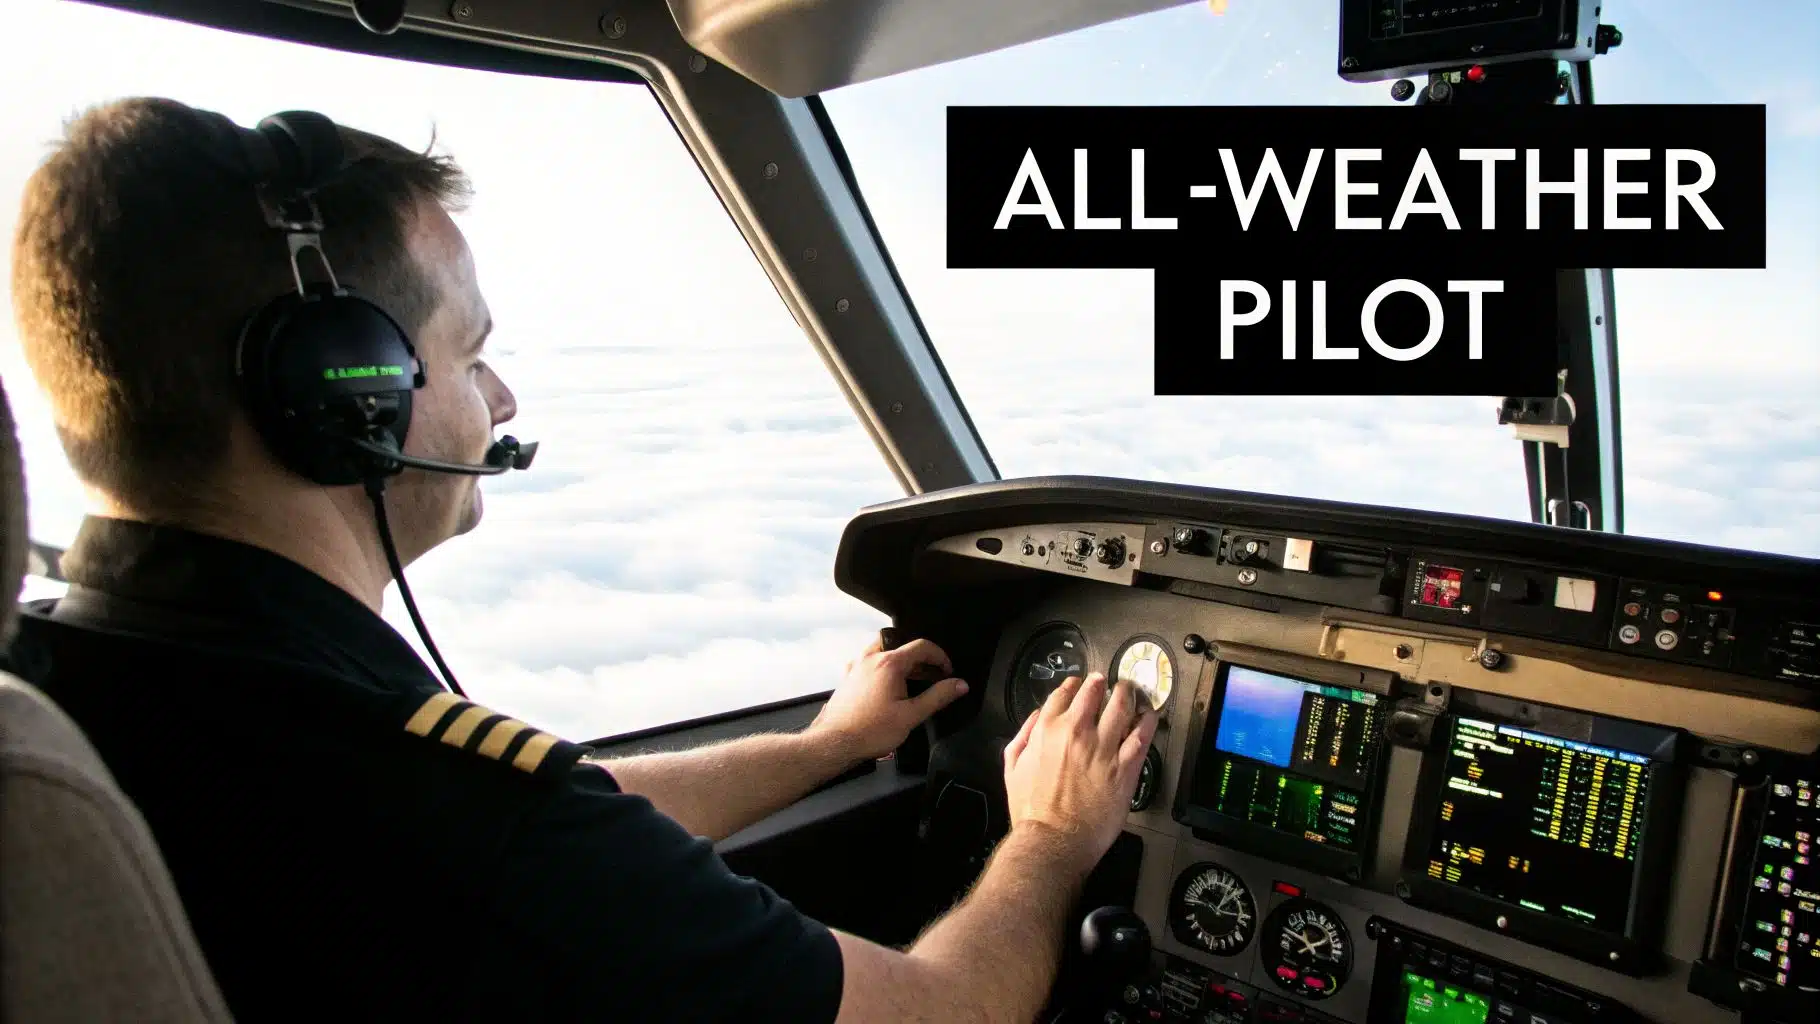
So, what exactly is an instrument-rated pilot? In simple terms, it's a pilot who has earned the FAA's trust to fly an airplane without ever needing to look outside. By relying completely on the cockpit instruments, they can safely navigate through clouds, fog, and rain—conditions that would ground a pilot who can only fly by visual references.
This rating is what turns a fair-weather flyer into a true all-weather aviator.
Why an Instrument Rating Is Your Next Best Career Move
Two practical options worth comparing
These are specific products pilots commonly compare for this type of flying. Confirm compatibility with your aircraft and instructor before ordering.
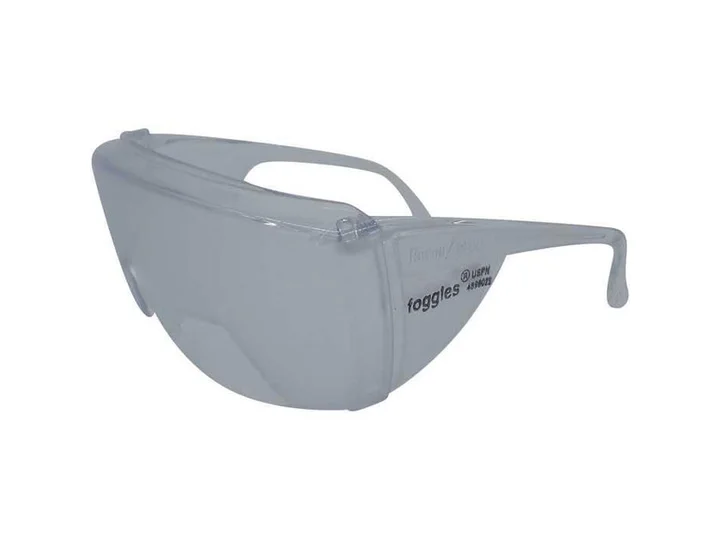 Instrument trainingFoggles Aviation IFR Training GlassesCheck current availability on Amazon (paid link)
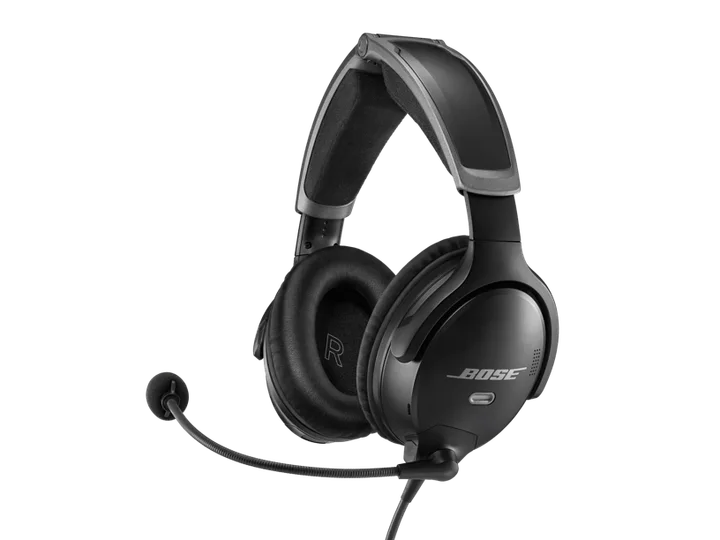 Premium headsetBose A30 Bluetooth Aviation Headset - Dual PlugCheck current availability on Amazon (paid link)
Flying under Visual Flight Rules (VFR) is an amazing experience, but earning your instrument rating is what opens the door to professional aviation and a much deeper command of the aircraft. It’s the single most important skill that separates someone who flies for a hobby from a pilot who can build a career.
Think of it as the bridge from being a pilot who has to cancel plans when the weather looks iffy to a professional who can reliably and safely get the job done. For nearly every commercial or airline pilot job out there, an instrument rating isn't just recommended—it's a non-negotiable requirement.
Unlocking Professional Opportunities
In an industry hungry for qualified pilots, being instrument rated immediately makes you a much stronger candidate. Airlines, cargo operators, and charter companies all run on a schedule, and they need pilots who won't be sidelined by a low cloud layer.
The global pilot training market was valued at $7.4 billion in 2024 and is on track to hit $14.3 billion by 2030. This isn't just a number; it reflects an urgent, real-world demand for pilots who are comfortable and competent in complex instrument conditions from day one.
The demand is staggering. Boeing's latest forecast projects a need for 660,000 new commercial pilots over the next two decades. But just having a private pilot certificate won't get you in the door. The path to an airline career is paved with instrument proficiency, making this rating a crucial investment in your future. You can explore the full pilot training market report to see these trends for yourself.
Breaking Down the FAA Instrument Rating Requirements
The path to your instrument rating isn't some secret, convoluted maze. The FAA lays out the requirements in Part 61 of the Federal Aviation Regulations, and it's best to think of them as a clear, logical recipe for becoming a safe and proficient pilot in the clouds.
Let's walk through exactly what you'll need to accomplish.
Foundational Prerequisites
Before you can even start logging your first instrument approach, there are a couple of boxes to check. First and foremost, you must already hold at least a Private Pilot Certificate. This makes perfect sense—you need to have a solid command of the aircraft in visual conditions before you add the challenge of flying without outside references.
You'll also need to be proficient in English, as it's the standard language for aviation worldwide and critical for clear communication with Air Traffic Control (ATC).
Logging the Right Kind of Flight Time
This is where the real work begins. The FAA isn’t just looking for a certain number of hours in your logbook; it’s focused on the quality and type of experience you gain. The requirements are designed to ensure you’re not just learning procedures, but can confidently command an aircraft on long flights and in challenging conditions.
We’ve put together a simple checklist to help you track the key aeronautical experience requirements under Part 61.
FAA Instrument Rating Checklist (Part 61)
This table breaks down the minimums you'll need to be eligible for your checkride. Think of it as your personal roadmap for training.
| Requirement | Minimum Hours or Condition |
|---|---|
| Cross-Country as PIC | 50 hours |
| … in an airplane | at least 10 hours of the 50 |
| Instrument Time | 40 hours (actual or simulated) |
| … with a CFII | at least 15 hours of the 40 |
| Long IFR Cross-Country | One flight of at least 250 NM |
| … with approaches | along a filed IFR flight plan, with 3 different kinds of approaches |
These hours build on each other. For example, the time you spend on your long cross-country flight with your instructor will count toward your total cross-country, total instrument time, and your dual instruction requirement all at once. It's an efficient, integrated training plan.
Think of the FAA's requirements as a recipe. Each ingredient—cross-country time, simulated instrument practice, and dual instruction—is essential for the final product: a safe, competent, and confident instrument pilot.
The Smart Mix: Aircraft vs. Simulator
Modern flight training has an incredible tool at its disposal: the Aviation Training Device (ATD), or simulator. The FAA recognizes its value and allows you to log up to 20 hours of your instrument time in an approved device, like the one we have here at DuBois Aviation.
This is a huge advantage for both your wallet and your skill. A simulator is the perfect place to master complex procedures. You can pause a scenario to ask your instructor a question, repeat a tricky approach until it’s second nature, and practice emergency situations you’d never want to replicate in a real aircraft—all without burning a single drop of fuel.
By using the simulator to nail down the procedures and "buttonology," you make your time in the actual airplane far more productive. You’ll spend less time with your head down and more time honing the hands-on flying skills that truly matter.
Navigating Your Instrument Training Syllabus
Starting your instrument training can feel a bit like flying into a cloud for the first time—a little intimidating, but manageable if you have a plan. That plan is your training syllabus. Think of it less as a rigid checklist and more as a roadmap, breaking down the complex goal of IFR proficiency into a series of clear, achievable steps. It ensures you’re building skills logically, not just piling up flight hours.
Essentially, the syllabus guides your transformation from a pilot who flies by looking outside to one who can confidently command the aircraft by relying solely on the instruments.
This journey is a standard progression for any aspiring professional or serious private pilot. The chart below shows exactly where instrument training fits into your overall pilot certification path.
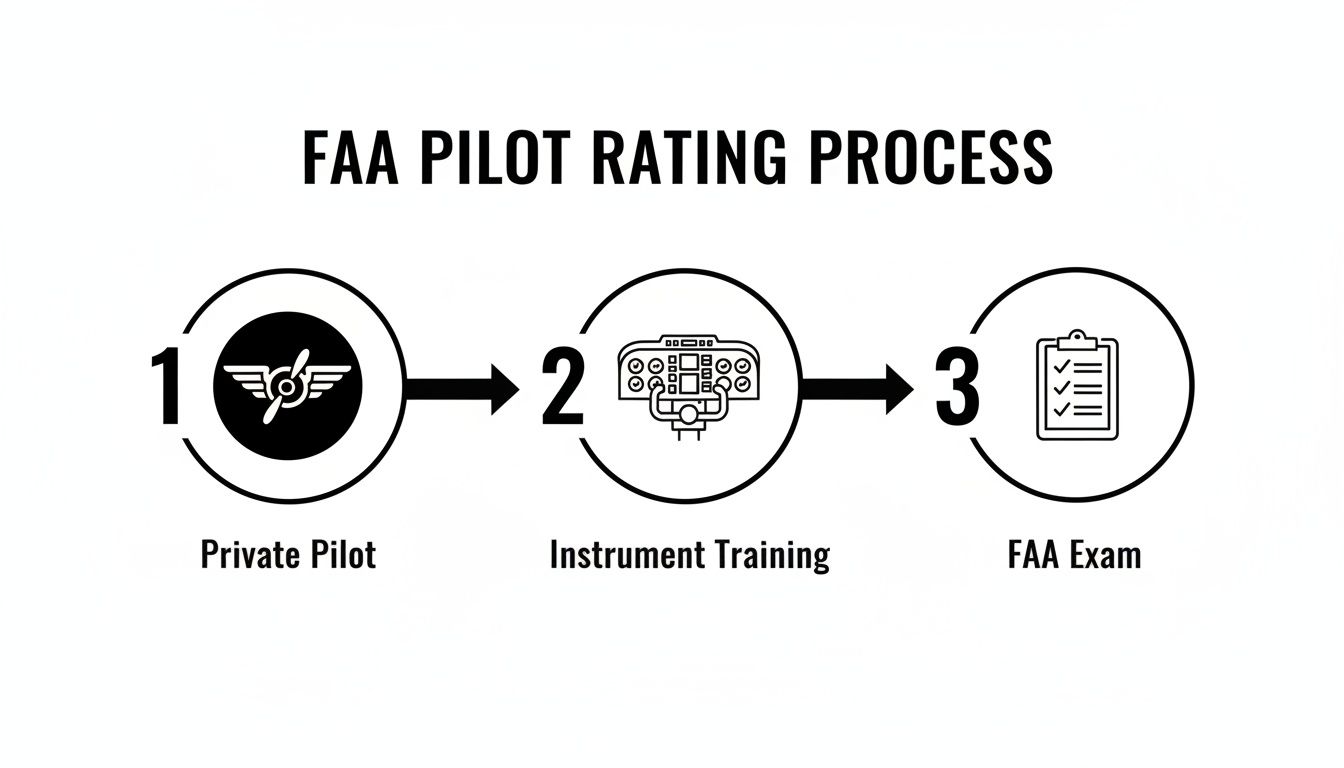
As you can see, the instrument rating is the natural next step after earning your Private Pilot certificate. It's the critical link that prepares you for the FAA exam and unlocks the ability to fly in a much wider range of weather conditions.
Phase 1: Mastering Basic Attitude Instrument Flying
The very first part of your training involves a bit of an identity shift. We have to take away your primary sense—your vision—and teach you to fly all over again, this time by trusting the gauges. This is called basic attitude instrument flying.
Your instructor will have you wear a view-limiting device (paid link) (we used to call them "foggles" or a "hood"), which blocks your view of the outside world. It simulates being in a cloud and forces you to develop a disciplined "scan." You'll learn a methodical pattern of checking your primary flight instruments to maintain straight-and-level flight, execute perfect standard-rate turns, and manage steady climbs and descents. This is the foundation every other instrument skill is built upon.
Phase 2: Learning IFR Procedures And Navigation
Once you can control the airplane without looking outside, it’s time to learn the rules of the road for the IFR system. This is where you move beyond basic handling and start learning to navigate a complex, invisible highway in the sky.
Here, you'll get hands-on practice with the core skills every instrument rated pilot needs:
- Holding Patterns: You’ll learn how to precisely enter and fly holds, which Air Traffic Control uses to manage traffic flow, sequence aircraft for landing, or handle delays.
- Course Intercepts: We’ll teach you how to intercept and track specific VOR radials and GPS courses, the bread and butter of instrument navigation.
- En Route Navigation: This involves flying entire routes between waypoints, navigating on victor airways, and communicating professionally with ATC from departure to arrival.
This phase requires a lot of procedural knowledge. To get the most out of your flight time, it's crucial to study effectively on the ground. Exploring effective studying methods and using modern tools can make a huge difference in your progress.
Phase 3: Executing Instrument Approaches
This is where it all comes together. The final phase of training is about mastering the instrument approach—the standardized procedure that guides you from your cruising altitude all the way down to the runway threshold in low visibility.
Flying an instrument approach is the ultimate test of precision and discipline. It requires a stable aircraft, a focused instrument scan, and an unwavering trust in the procedures designed to get you on the ground safely.
You'll learn to fly various types of approaches, from non-precision approaches that provide lateral guidance to precision approaches like the ILS (Instrument Landing System), which guides you both horizontally and vertically. You'll practice flying "down to minimums," the specific altitude where you must see the runway environment to continue the landing. Nailing this skill gives you the confidence to complete your mission when the weather turns sour.
This is more than just a skill; it's a career-maker. The instrument rating is what separates recreational VFR flyers from professional pilots. With Boeing forecasting a need for 660,000 new pilots by 2046, and 70-80% of commercial flights operating under IFR, this rating is non-negotiable.
How to Budget for Your Instrument Rating
Alright, let's talk about the question on every prospective pilot's mind: what's the real cost? It's easy to get a single, vague number, but that's not very helpful. To budget effectively and avoid any surprises, you need to see exactly where your investment is going.
The final price tag for your instrument rating isn't fixed. It really depends on your own learning pace, how frequently you can fly, and the specific aircraft you're training in. That said, we can build a sample budget that gives you a crystal-clear picture of the typical expenses.
An Itemized Look at Your Investment
Think of it this way: your total cost is made up of a few key building blocks. The biggest ones are always going to be the aircraft rental and your instructor's time, but there are other essential fees to plan for.
Here’s a practical estimate based on current rates and FAA minimum requirements. Keep in mind, most pilots need more than the bare minimum hours to feel truly sharp and confident for their checkride.
Sample Instrument Rating Cost Estimate
This table breaks down the typical expenses you’ll encounter on your way to earning the rating.
| Expense Category | Estimated Cost Range (USD) |
|---|---|
| 40 Hours Aircraft Rental | $6,000 – $8,000 |
| 40 Hours CFII Instruction | $3,200 – $4,000 |
| Ground School & Materials | $400 – $800 |
| FAA Written Exam Fee | $175 – $200 |
| DPE Examiner's Fee (Checkride) | $800 – $1,200 |
| Total Estimated Cost | $10,575 – $14,200 |
You'll notice the table is based on the FAA minimum of 40 hours of instrument time. In reality, most people find they need between 50-60 hours to master the skills and be ready to impress an examiner. Consistency is your best friend here; flying more often means you retain more between lessons, which usually brings down the total hours needed.
For those looking for ways to manage these costs, it's worth exploring all available options. To learn more about funding your flight education, check out our detailed article on financial aid for pilot training.
The Smart Way to Manage Costs
While flight training is a serious investment, there are absolutely ways to be smart about your spending without cutting corners on the quality of your education. One of the most powerful tools for this is the flight simulator.
Using an Aviation Training Device (ATD), or simulator, is one of the smartest financial decisions an instrument student can make. It allows you to master complex procedures and emergencies in a low-cost, repeatable environment before applying them in the airplane.
Under FAA Part 61 rules, you can log up to 20 hours of your instrument training in an approved simulator. At DuBois Aviation, our in-house ATD is a game-changer. You can practice holding patterns, nail down course intercepts, and fly a dozen different approaches back-to-back. You can literally hit "pause" to ask your instructor a question or perfect the "buttonology" on the GPS—all without a drop of fuel burned or a single worry about other air traffic.
This blended training approach makes your time in the actual airplane incredibly efficient. In the air, you can focus on high-level skills like refining your instrument scan and honing your control touch, not fumbling with the GPS. By mastering the procedures on the ground, you become a more confident and capable instrument rated pilot in the air, saving both time and money in the long run.
The Smart Way to Buy Your First Airplane or Helicopter

Once that instrument rating is in your pocket, it’s only natural for your thoughts to turn toward the ultimate freedom: owning your own aircraft. The ability to fly on your own terms, on your schedule, is what many of us dream about.
But let’s be real—buying an aircraft, whether it's a fixed-wing airplane or a helicopter, is a huge financial and logistical step. Jumping in without a solid game plan is a recipe for expensive headaches. Just like you followed a checklist for every flight, you need a disciplined process to make sure your first purchase is a smart one.
Define Your Mission Before You Shop
Before you even start browsing aircraft listings, you need to get brutally honest about what you’ll actually do with the plane or helicopter. This is, without a doubt, the most important part of the process. The perfect aircraft for grabbing a $100 hamburger on a Sunday is completely wrong for regular 250 NM IFR business trips.
Think about the specifics of your flying life:
- Typical Trip: Are you flying locally for fun, or are you planning long cross-country flights?
- Passenger Load: Will it just be you and a friend, or do you need to haul the whole family?
- Performance: Do you need an aircraft that can handle short grass strips, high-altitude mountain airports, or vertical takeoffs from remote locations?
- Budget: What's your real, all-in number? This includes the purchase price, plus the ongoing costs of insurance, hangar space, maintenance, and fuel.
Answering these questions first helps you cut through the noise. It narrows a sea of hundreds of models down to a manageable few that truly fit your needs. For a new instrument rated pilot, IFR-certified avionics will likely be a top priority, while a weekend VFR flyer might care more about low operating costs.
The Non-Negotiable Pre-Buy Inspection
So you’ve found an aircraft that looks perfect on paper. Now comes the single most important step you will take: the pre-buy inspection. This is a deep-dive examination of the aircraft and its logbooks by a qualified, independent A&P (Airframe & Powerplant) mechanic—ideally one who knows that specific make and model inside and out.
A pre-buy is not the same as an annual inspection. Think of it as a forensic investigation done for you, the buyer, to find any skeletons in the closet. It’s designed to uncover everything from hidden corrosion to expensive components nearing the end of their life. Skipping it is the biggest financial gamble you can take in aviation.
Your mechanic will scour the logbooks, looking for a complete maintenance history, any damage records, and compliance with all Airworthiness Directives (ADs). Clean, well-organized logbooks are just as telling as the physical condition of the airframe. The findings from this inspection give you the leverage to negotiate a better price, ask the seller to fix issues, or—most importantly—walk away from a bad aircraft.
Finalizing a Safe Purchase
If the pre-buy inspection comes back looking good, you're in the home stretch. The final steps involve securing your financing, using an escrow service to handle the money safely, and filing all the necessary FAA paperwork to transfer ownership. Working with an aviation title company can make this process smooth and protect both you and the seller.
Buying your first airplane or helicopter is an incredible milestone. If you do your homework by defining your mission, setting a realistic budget, and never, ever skipping a thorough pre-buy inspection, you can make the dream of ownership a safe and incredibly rewarding reality.
Frequently Asked Questions About Instrument Training
You've got questions, and we've got answers. Thinking about earning your instrument rating is a big decision, and it’s completely normal to want all the details before you dive in. Here are some straightforward answers to the questions we hear most often from pilots just like you.
How Long Does Instrument Training Take?
The FAA sets the minimum at 40 hours of instrument time, but let's be realistic. The national average to get truly proficient is closer to 50-60 hours. The biggest factor in how long it takes, and how much it costs, is how often you can fly.
- Full-Time Students: If you can fly 3-4 times a week, you could be ready for your checkride in as little as 2-3 months.
- Part-Time Students: For those flying about once a week, the timeline usually stretches out to around 6-9 months.
Consistency is everything. Flying regularly keeps the knowledge fresh and the skills sharp, which means you'll spend less time re-learning old material and more time making progress.
Can I Use a Simulator for All My Training?
No, but you can use one for a significant chunk of it, and it’s a brilliant way to save money. Under Part 61 rules, you can log up to 20 hours in an approved Aviation Training Device (ATD), like the one we have at DuBois Aviation.
Think of the simulator as your personal procedure lab. It’s the perfect place to drill holds, nail down approach procedures, and run through emergency scenarios over and over until they become second nature—all without a single drop of fuel burned.
Is the Instrument Written Exam Difficult?
It’s definitely a challenge. The Instrument Rating Knowledge Test is known for being tough because it covers a lot of complex ground—IFR regulations, the air traffic control system, tricky weather concepts, and flight planning.
But don't let that intimidate you. With a good ground school program and plenty of practice tests, it’s completely doable. The key is to really learn the material, not just memorize answers. That knowledge is what will keep you safe and confident when you’re flying in the clouds for real.
How Do I Keep My Instrument Rating Current After I Earn It?
Great question. Once you're an instrument rated pilot, you need to meet specific FAA requirements to legally fly in IFR conditions. It's not a one-and-done deal; you have to actively maintain your skills.
Staying current involves logging a certain number of instrument approaches, holds, and course tracking within a set time frame. It’s a use-it-or-lose-it privilege, and we have a detailed guide that breaks it all down for you. You can read our full guide on IFR Currency Requirements.
Is It Safe to Buy an Airplane Without a Pre-Buy Inspection?
Absolutely not. For any pilot looking to buy their own plane or helicopter, skipping the pre-buy inspection is the single biggest—and most expensive—mistake you can make. This isn't just another annual; it's a deep-dive inspection done by an independent A&P mechanic you trust.
A pre-buy inspection is your safety net. It’s designed to uncover hidden issues like corrosion, undocumented damage, or expensive upcoming maintenance items. It gives you the power to negotiate fairly or walk away from a bad deal, protecting your investment and your safety.
Ready to become a proficient, all-weather aviator? At DuBois Aviation, we have the personalized instruction, modern fleet, and real-world airport environment you need to succeed. Get started by exploring our flight training programs at https://duboisaviation.com.


